On a gray Tuesday morning, you look down at the floor of your kitchen and feel a little bit defeated. The tiles are still pretty, and they even shine. But what about the lines in the grout? They used to be a bright, clean cream color, but now they look like someone drew a dirty line around your whole house. You might have tried a quick mop or even a miracle spray from the store. The tiles shine for an hour, but the grout stays dull and gray.
You start looking up “replace grout” on Google and see how much it costs. That’s when the fear sets in.
But there is a quieter question behind that panic: is there a way to bring this floor back to life without tearing everything out?

Why grout gets so dirty (and why it seems so unfair)
The tile itself doesn’t wear out too quickly. Grout, on the other hand, tells the whole story of your life through tiny bits of dirt. Those narrow lines hold all the coffee spills, muddy paws, and mop jobs that aren’t quite right. The grout starts to look older than the house after a while.

People tell us to “just clean it regularly,” as if anyone really has the time to scrub grout on their hands and knees every Saturday. To be honest, no one really does this every day. So the dirt doesn’t come in overnight; it slowly builds up week after week until one morning it looks like someone used a dusty crayon to shade between your tiles.
A reader from Manchester sent me a picture of her hallway not too long ago. Cream tiles with dark gray grout seams that looked like they were meant to be there, but they weren’t. She had tried three different things, one of which was a viral “miracle paste” she ordered at midnight out of anger. The pictures before and after said that the white lines would be there in five minutes.
What she really got was a sticky mess, streaks on the tiles, and grout that looked a little cleaner in some places but still tired. The big moment came when she zoomed in and saw that the dirt wasn’t just on top; it had sunk in. She said, “I thought I would have to regrout the whole hall.” “I was already figuring out how many weekends I’d miss.”
Grout is a sponge that looks like something else. Because it is slightly porous, liquid doesn’t just sit on it; it seeps inside. When you mop, the dirty water goes straight into those low channels and seeps down, which makes things worse. Over time, what you see isn’t just dirt on the surface; it’s a mix of soap scum, oils, and tiny bits of trash that get stuck below the top layer.
That’s why floor cleaners don’t often touch it. They are made for the flat, sealed tile, not the little river of grout that runs between them. You need a trick that works with how grout works, not against it, to move that dirt without chiseling everything out.
The quick and easy way to wake up grout at home
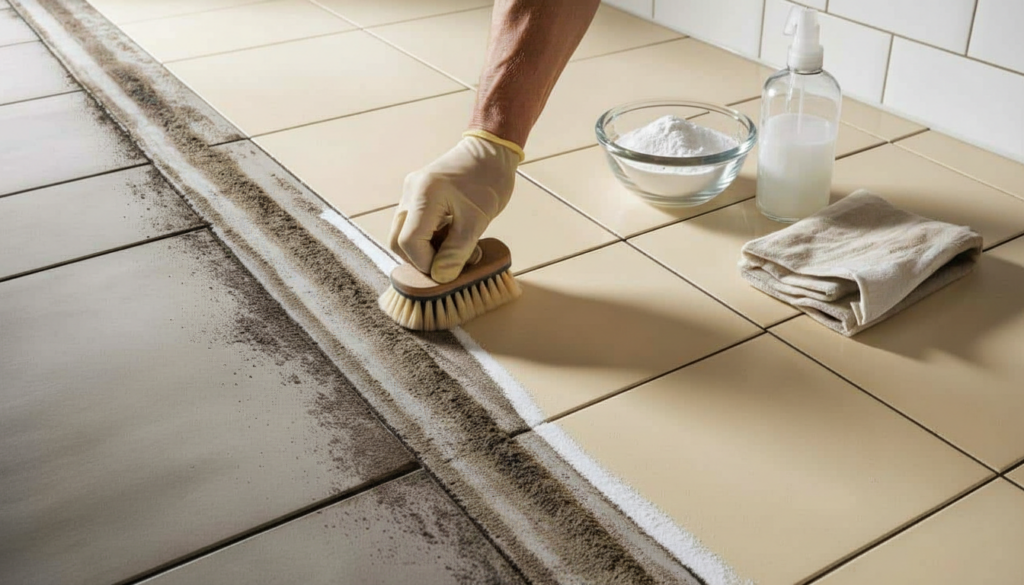
Baking soda and white vinegar are the secret to saving a lot of “ruined” floors. You can find them in your kitchen cupboard. Not pretty, not scented with “Alpine Breeze,” but it works surprisingly well. Begin with grout lines that are dry. Like you would with sugar on a cake, sprinkle baking soda along each line. Don’t hurry. You want a thin, clear track.

Next, put vinegar in a spray bottle and lightly spray it over the baking soda. It will fizz and bubble like a little science project. That reaction helps get dirt out of the pores. After letting it sit for 5 to 10 minutes, use a stiff toothbrush or small grout brush to scrub it in short, back-and-forth motions. Wipe it down with a clean cloth and rinse it with warm water so the dirt doesn’t settle again.
A lot of people lose their cool or go too far here. They either stop after two grout lines (“it’s not white yet!”) or they grab a metal brush and start attacking the floor like they’re sanding a boat. Both choices will end in disappointment. Grout works better when you do it over and over again than when you hit it.
One round won’t get rid of a decade of footprints if the dirt has been there for years. Test a patch that is one square meter and treat it twice. During the second pass, most people suddenly see the original color come back, and that’s what makes them want to do it. *The real trick is to realize that short, focused sessions are better than one long, hard marathon that you’ll hate halfway through.
It’s okay if the change isn’t big; sometimes it’s just a little bit. As one professional cleaner told me, “People want pure white, but what they really want is ‘not embarrassing anymore.‘ That’s a much more realistic win.”
- Use tools that are soft
Don’t use wire brushes or rough scouring pads. A firm nylon brush or an old toothbrush is usually enough to clean the grout without chewing it away. - Work in small areas
Take care of a 1–2 m² area at a time. Wash, rinse, and step back. This stops you from getting dirty water on clean lines. - Rinse well
After scrubbing, use a damp microfiber cloth and clean water to wipe it down. If you leave gritty stuff on the floor, it just rewrites the dirt into the grout. - Get the area dry.
Run an old towel along the lines. Grout that stays wet for hours gets more dirt stuck in it than grout that dries out. - Do it again lightly, not hard.
A few short sessions over a week are better for your knees and your grout than one long, frantic afternoon of scrubbing.
Living with grout that looks good enough, but not perfect
It’s a quiet relief to know that you don’t have to make your home perfect in order to feel better about it. After the first deep clean with baking soda and vinegar, the goal changes from saving the day to just keeping things clean. Once a month, give the worst paths a light scrub. After a really muddy day, use a microfiber cloth along the lines. That’s usually all it takes to keep the gray from coming back.
Some people who own homes go even further and use a grout sealer after everything is clean. It’s a clear liquid that is brushed or rolled on the lines to keep stains from soaking in again. Not required, but it can make the time between deep cleanings longer by months on pale grout in busy rooms.
| Key point | Detail | Value for the reader |
|---|---|---|
| Baking soda + vinegar method | Sprinkle baking soda on dry grout, spray with vinegar, let fizz, scrub, rinse | Low-cost, accessible way to lift embedded dirt without specialist products |
| Work in small sections | Clean 1–2 m² at a time, then rinse and dry before moving on | Visible progress, less fatigue, better results with less re-deposited grime |
| Gentle tools, repeated sessions | Use nylon brushes and short sessions rather than harsh scrubbing | Protects grout from damage while still restoring its original color |
Questions and Answers:
 Farewell to hair dye for grey hair, this simple conditioner add-in restores natural colour
Question 1: Is it okay to use bleach on my grout instead of vinegar?
Answer 1: Yes, but it should be very diluted and used in a well-ventilated area with gloves. Bleach can make stains on light grout lighter, but using it too often can make it weaker over time. The baking soda and vinegar mix is usually safer and gentler for cleaning on a regular basis.
Question 2: Will this work on grout that is very dark or black?
Answer 2: Yes, but the “wow” factor is less obvious. Dark grout hides dirt better, but it still gets grease and other stuff stuck to it. The baking soda and vinegar method gets rid of dullness and sticky films, restoring that deep, even tone without taking away color.
Question 3: How often should I clean the grout between my tiles?
Answer 3For places that get a lot of traffic, like kitchens and hallways, two to four times a year is a good number. Homes with pets or kids that get a lot of foot traffic might need it a little more. A quick wipe of spills and a weekly mop with clean water between those deeper sessions really slows down the buildup.
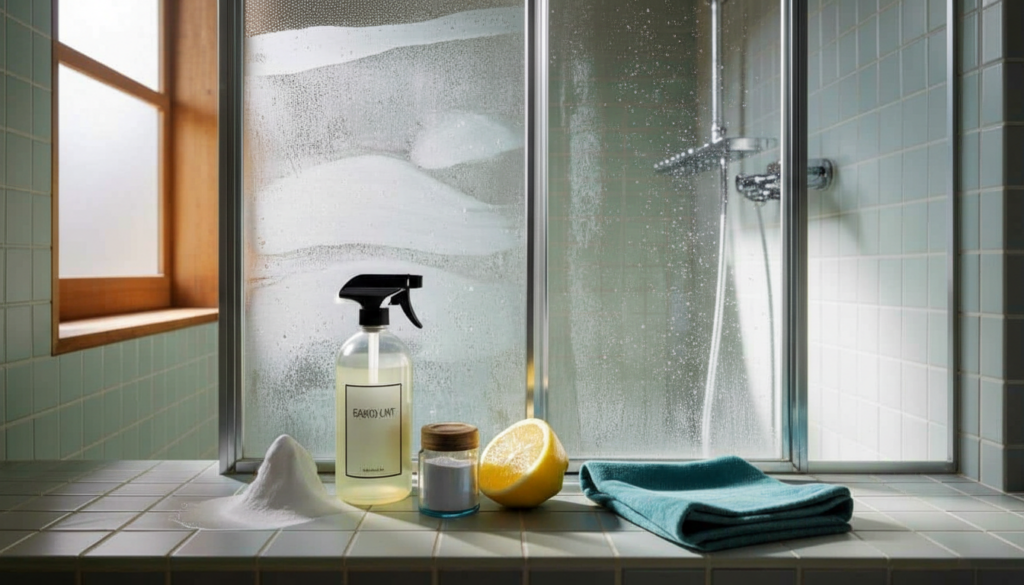
What should I do if there is mold or mildew in the grout in my shower?
Answer 4: Mold and mildew are common in shower grout because it is always wet. Use the same method of baking soda and vinegar, and then use a solution of bleach or hydrogen peroxide that has been diluted on the spots that are affected. If the grout is breaking or soft, it might be time to regrout that area partially.
Question 5: Is it really worth it to use grout sealer after cleaning?
Answer 5: Yes, it usually pays off on light-colored grout or in places where spills happen a lot. A good sealer makes a barrier that slows down staining, so dirt that falls on it later stays on the surface instead of soaking in. That means that the next time you clean, it will be quicker, easier, and much less dramatic.